Welcome to part 2 of the Hasegawa B5N2
Kate project, with this update we’ll look at the engine and the airframe.
Before I start though, I always find that I tend to listen to a particular album when making a model, usually something fairly new in the collection and then forever more that model or subject is forever linked in my head with that album. This model happens to be made with Mark Tremonti's All I Was blasting out in the background. He's the lead guitarist from Creed and Alter Bridge and it's an awesome soundtrack!
Anyway, enough rock, lets get on with the model.
Engine
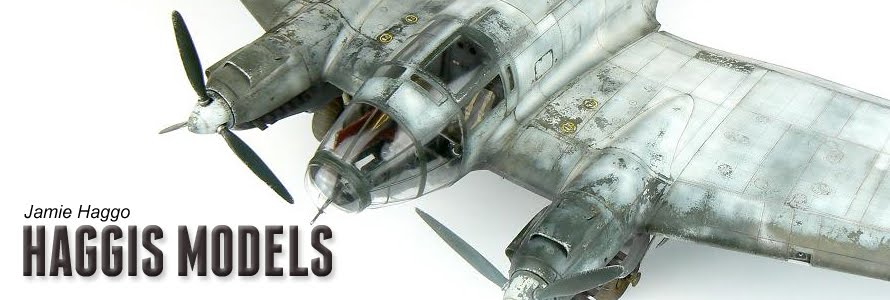
The engine supplied by Hasegawa is
quite well detailed but without the spinner fitted it’s going to be quite
prominent therefore time spent detailing and add a good paint job will be important.
First up was a lick of paint and I
decided to have a go at spraying Vallejo Model Air Steel. I’ve brush painted this with good results but
for spraying I recommend thinning it a little with either Vallejo thinner or in
this case some distilled water. I found
that I got best results by misting on the paint and not letting it build up too
quickly. Following the metal colour, the
push rods were picked out with Vallejo Black which dries to a nice semi gloss
sheen. The push rods are a bit solid but
this won’t be noticeable when looking head in through the cowling. With the Eduard photo etch parts glued in
place I the holes for the ignition harness were drilled out with a .5mm drill
bit.


That done small lengths of lead wire were glued in place before painting with Vallejo Hull Red. To pick out the detail and to leave a grimy finish, some Abteilung shadow brown was thinned and applied as a pin wash. And that was the engine done.

Airframe
As is normal for my models I wanted to
rivet the airframe. I find the easiest
way to do this is to remove the main components from the sprue, clean up the
attachment points and then spray a thin coat of Alclad primer before buffing
the surface with a Master Caster’s Miracle Polisher. It doesn’t need to be buffed, just smooth out
the rough bits. The idea behind this is
to provide a key for the rivet wheel.
My riveter device of choice is from RB
Productions, I like it because it’s a series of different gauge photo etched
(steel) rivet wheels which are interchangeable for different spaced rivets.
Not having a rivet plan to hand I took
an educated guess seeing I rivet practically every model I have a good
grasp of typical patterns and layouts.


Take your time and do it in stages
symmetrically, that way it’s easier to avoid getting lost and forgetting lines
or making them unbalanced. I stay away
from seams as the rivets will be lost when rubbing them down, likewise around
fuselage halves as they might not match so it’s better to do those at the end
of the construction.


Now it’s time to start putting things
together, the wings are straight forward and the fit is very good. The only snag was some of the panel lines
that wrap around the leading edge didn’t match up which was a right pain.

When it came to the fuselage I paid
particular attention to the seam, this tends to be a focal point and it will
stand out if not done right, especially if there is a natural metal finish to
consider.
The fuselage halves are put together
and then Mr Cement S touched along the join, after a few seconds the join is pushed
together with the intention of squeezing out some melted plastic. The pressure is maintained for a few minutes
before tape is wrapped tightly around the join and then this is left for a
minimum of 72 hours. Don’t be tempted to
come back too early as the plastic will still be drying, it will shrink with the risk of a ghost seam returning is a real possibility. When ready, the seam is sanded back using
Master Caster’s sanding pads and polished back up to remove any scratches
before more Alclad primer is sprayed on to check the join. Luckily all was well so taking a scriber
(another of RB Productions’ tools) the panel lines are restored, as are the
rivets.

Dry fitting revealed a bit of a wing
root gap however the fuselage is quite flexible so Mr Cement S was touched in
the gap and the parts held in the correct place.

To help things along, Tristar masking
tape was attached to maintain the dihedral.
I don’t think this was necessary as the glue sets quickly but it’s a
belt and braces approach. Why take the
risk?

The join wasn’t trouble free inderneath so Tamiya
Filler was used to fill the gaps. This
dries quite quickly but again it will continue to shrink for a while so it’s
best left for a while.

And that’s where we are now, waiting
for the filler to dry. In the next instalment
we’ll finish of the airframe and detail and sort out all the sticky out danglie
bits such as wheels etc. I find this
part quite tedious so I tend to get this lot done before painting as it’s quite
demoralising having done the best bits to be left with the boring stuff to
finish off the model.
So, until next time thanks for
watching and I’ll see you in a few days.
I’m currently off work as the aircraft I fly is currently grounded owing
to technical problems and in today’s risk averse culture we won’t be back in
business in the near future. Still,
better to be safe than sorry and it frees up more modelling time.
Cheers,
Jamie
No comments:
Post a Comment